
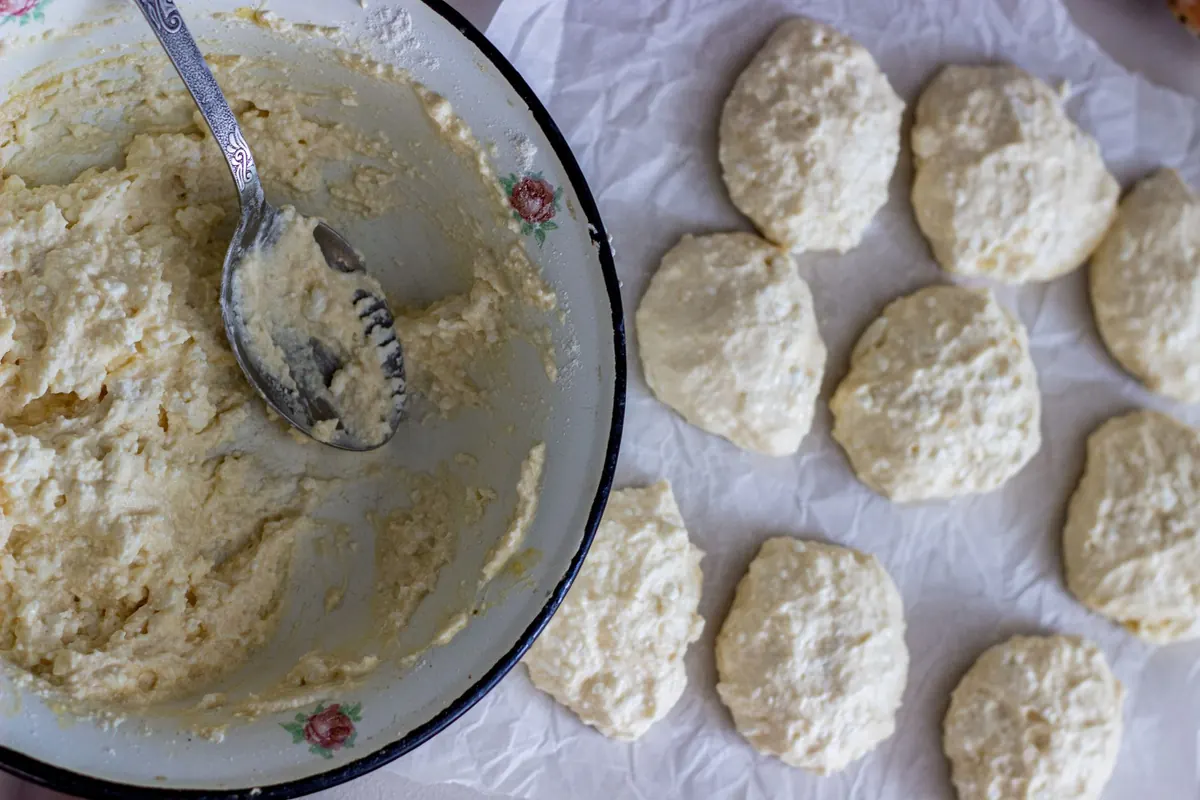
Crumpets look like the easiest thing in the world: batter, rings, heat. Then you lift the ring and find a pale, holeless disc that tastes like a damp pancake. The annoying part is that the recipe usually isn't the problem — crumpets fail on technique, and technique is entirely fixable.
These are the ten faults that send most batches into the bin, what's actually happening underneath, and what to change next time. Fix two or three and you'll taste the difference immediately.
Start With the Batter
1. The batter is too thick — or too thin
Crumpet batter should be wetter than most people expect: looser than pancake batter, closer to thick double cream. Too stiff and bubbles can't push up through it, so you get tight, mean little holes. Too thin and it seeps under the rings and sets flat. Lift your whisk and watch — the batter should fall in a slow ribbon that sinks back into the surface within a couple of seconds.
Weigh your flour rather than scooping it, because a scooped cup can carry a lot of extra flour. Adjust with liquid or flour a tablespoon at a time, then let the bowl stand for ten minutes before judging it, since flour keeps absorbing liquid as it sits.
2. The batter hasn't proved long enough
Mixing, waiting twenty minutes, then pouring is the single most common reason for a flat crumpet. The batter needs to be visibly domed and bubbly before it goes anywhere near the pan. In a warm kitchen that's usually an hour to ninety minutes; in a cold one it can take far longer. If your kitchen is chilly, prove it overnight in the fridge and bring it out an hour before cooking. Go by look and smell, not the clock: a risen dome, bubbles breaking on the surface, a faint yeasty tang.
Handle the Batter Gently
3. Knocking the bubbles out
Every unnecessary stir before pouring costs you holes. Once the batter has proved, fold it once or twice with a spatula and stop. If you're ladling from a jug, don't whisk it "just to combine" first. Pour steadily, and don't scrape the very last of the batter in — that's where the heaviest, least aerated mixture sits.
4. Adding the bicarbonate at the wrong moment — or forgetting it
Bicarbonate of soda is what turns a yeasted batter into a crumpet. Dissolve it in a little warm water and stir it in just before the pan goes on, because it starts working straight away. Add it at the beginning of proving, or leave the batter sitting for half an hour afterwards, and most of the lift has gone before it reaches the heat. It's also worth checking that your yeast and bicarbonate are in date; both fade quietly on the shelf.
Heat and Equipment
5. A pan that's too hot or too cold
- Too hot: the base scorches and sets before the bubbles can travel up, giving you a burnt bottom and tight, tiny holes.
- Too cool: the batter spreads, leaks under the rings and stays pale, pale and rubbery.
- Just right: medium-low and steady. A spoonful of batter should sizzle gently and begin setting at the edges within about a minute.
- Preheat properly: pan and rings together for at least five minutes. A heavy-based frying pan or flat griddle holds heat far better than a thin one, which develops hot spots.
6. Cold, ungreased rings
Butter or oil the inside wall of each ring before every batch, right up to the top edge. Cold rings drop the pan temperature just where you need it most, and batter welds itself to bare metal. Metal rings outperform silicone, which doesn't hold heat and can flex. If a crumpet does stick, run a thin knife around the inside edge rather than forcing it out.
7. Overcrowding the pan
Cram in six rings and you'll get uneven browning, trapped steam and a pan that never recovers its heat. Leave a good couple of centimetres between rings and cook three or four at a time in a 28cm pan. Slower batches beat a crowded one.
Timing the Flip
8. Flipping before the top has set
Wait until holes have broken right across the surface and the top looks matte and dry, with no shiny wet patch in the middle and no wobble when you nudge the pan. At a moderate heat that's usually eight to twelve minutes. Flip too early and you flatten the bubbles you just spent an hour creating. Once flipped, give it a minute or two only — the second side should be barely coloured. And don't press down with the spatula.
Texture Troubles
9. Tough, rubbery crumpets
Overmixing at the start develops gluten, which is exactly what you want in bread and not what you want here. Mix until just combined; a few lumps are fine. Cooking the second side for too long toughens them further, so keep it brief.
10. Doughy middles and soggy bottoms
Stacking hot crumpets on a plate traps steam and turns the crusts soft and clammy. Cool them in a single layer on a wire rack so the air can get underneath. When you reheat, toast or grill them — a microwave turns a good crumpet into a rubbery disc in under a minute.
The Five-Minute Fix Checklist
Before your next batch, run through this:
- Weigh the flour, and check the yeast and bicarbonate are in date.
- Prove until domed and bubbly, however long that takes. Overnight in the fridge is fine.
- Dissolve the bicarbonate in warm water and stir it in last, just before cooking.
- Preheat a heavy pan and the rings for five minutes, and grease the rings every time.
- Cook three or four at a time until the tops are holey and dry, then flip briefly.
- Cool on a rack, never on a plate.
An imperfect batch is rarely wasted — toasted and buttered, most crumpets still beat anything from a packet. But once the holes come through properly, you'll know exactly which steps to repeat.
Photo: Natalia Sevruk / Pexels
Related posts
More stories you’ll love reading